
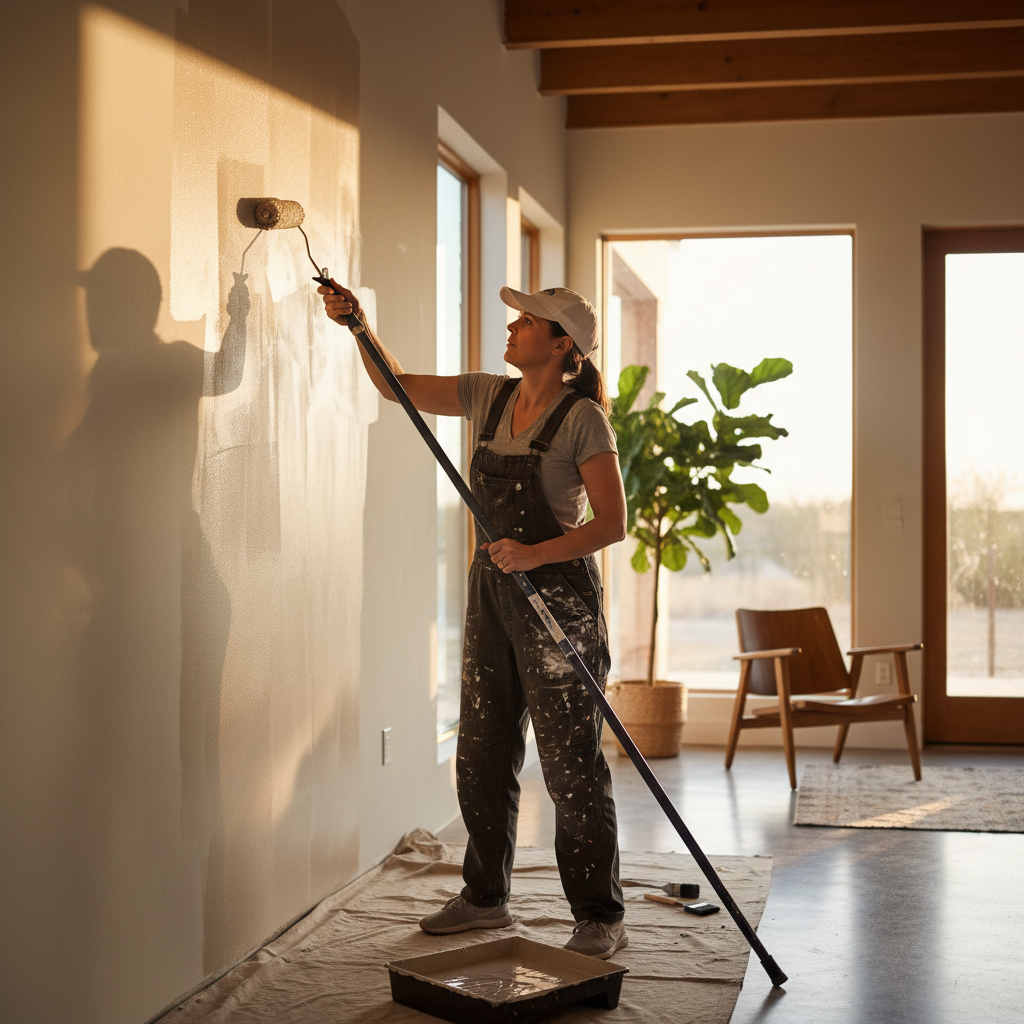
Interior painting is the most common home improvement project homeowners attempt on their own — and one of the most commonly done poorly. Not because it’s technically difficult, but because people underestimate how much the quality of the final product depends on everything that happens before the paint goes on.
I’ve been doing interior and exterior painting across the DFW metroplex for over two decades. In that time I’ve repainted rooms that a homeowner just painted six months earlier because the prep wasn’t done right and the paint was already peeling. I’ve also done consultations where a homeowner didn’t need to hire anyone — they just needed to understand the sequence.
Here’s what actually matters.
Start With Prep: The 60% Rule
Here’s something professional painters know that most DIYers don’t: on a quality interior paint job, roughly 60% of the time goes to preparation. The actual painting — rolling walls, cutting edges — is the fast part. Prep is what separates a job that looks good for 10 years from one that starts showing problems in 18 months.
Surface Cleaning
Paint does not adhere well to dust, grease, or residue. In kitchens, a film of cooking grease builds up on walls over time, even if you can’t see it clearly. In bathrooms, soap residue and moisture vapor deposit on surfaces. High-traffic areas accumulate oils from hand contact along hallways, stair rails, and near light switches.
Before painting any interior surface, wash it. Trisodium phosphate (TSP) or a TSP substitute works well for degreasing. In kitchens, I use a diluted degreaser on walls and ceiling, then rinse. In living areas, a mild soap-and-water wipe-down is usually sufficient. Let surfaces dry completely — in DFW’s humidity, that may take several hours.
Filling Holes and Cracks
Every nail hole, screw pop, drywall crack, and ding needs to be addressed before primer goes on. Use a lightweight spackle for small holes (toothpick-to-pencil diameter). For larger repairs — gouges, corner damage, cracks more than 1/8 inch wide — use a setting-type compound like Durabond, which hardens chemically rather than drying, giving a stronger bond.
After filling, sand flush. A 120-grit sanding sponge works well for small patches. For larger repairs, use a sanding block so you don’t create waves in the drywall surface. Feather the edges of patches so there’s no visible ridge. Prime all patched areas with a spot coat of primer before the full-room prime coat — spackle is porous and will flash through the finish coat if not primed.
Caulking
Caulking is one of the most skipped steps in DIY paint jobs, and one of the most visible when it’s omitted. Anywhere drywall meets trim — baseboards, window casings, door frames, crown molding — there’s typically a gap that collects shadows and looks unfinished after painting if not caulked.
Use a paintable latex caulk (not silicone, which paint won’t stick to). Apply a thin, consistent bead, tool it smooth with a wet finger, and let it cure per the manufacturer’s directions before painting over it. This step alone makes a painted room look dramatically more finished.
Priming
Every interior paint job needs primer, with one exception: if you’re applying the same color over a sound, clean existing paint surface that’s in excellent condition. In every other situation — new drywall, patched areas, color changes (especially going from dark to light), stained walls, previously unpainted surfaces — primer is not optional.
For new construction or freshly drywalled rooms, use a PVA drywall primer. For color changes or stain blocking, use a high-hide primer. For problem areas (water stains, smoke damage, crayon on a kid’s wall), use a shellac-based or oil-based stain-blocking primer before latex topcoats.
Choosing the Right Sheen for Each Room
Paint sheen (or finish) is not just aesthetics — it directly affects cleanability, how much surface imperfections show, and how moisture-resistant the surface is. Choosing the wrong sheen for a room is a common mistake.
Flat/Matte
Hides surface imperfections the best because it has no reflectivity. Great for ceilings, low-traffic adult bedrooms, formal dining rooms, and anywhere the drywall isn’t in perfect condition. The tradeoff: flat paint is harder to clean. Scrubbing a flat-painted wall often damages the paint film. Not recommended for kitchens, bathrooms, or hallways.
Eggshell
The workhorse finish for most interior walls. Low sheen — reflects just enough light to give walls depth without highlighting texture or imperfections. Cleanable with a damp cloth. Appropriate for living rooms, bedrooms, dining rooms, and entryways. This is what I default to on most interior wall surfaces.
Satin
More sheen than eggshell, more washable, slightly more forgiving in humid or high-moisture environments. Good choice for hallways and family rooms with kids, and works well in bathrooms if you’re not using a dedicated bathroom paint.
Semi-Gloss
Highly durable and cleanable. Standard choice for trim, doors, and window casings. Also appropriate for bathrooms and kitchens where moisture and grease are factors. Shows surface imperfections, so surfaces need to be well-prepped. Some painters use semi-gloss on kitchen walls for maximum washability.
High-Gloss
Rarely used on interior walls in residential settings. Most common application is cabinetry and furniture-style built-ins where maximum durability and a lacquer-like finish are desired.
Color Selection: What Works in DFW Light
This is where I’ve seen DFW homeowners get burned more than anywhere else. You fall in love with a color at the paint store or on a screen, you put it on the wall, and it looks completely wrong. Why? Because Texas light is different.
Understand Your Light Source
North-facing rooms in DFW receive reflected indirect light — cooler, bluer light that tends to make cool colors look deeper and greens appear more blue. Paint a gray in a north-facing room and it may read distinctly purple or blue.
South- and west-facing rooms receive direct Texas sun — bright, warm, intense light that amplifies warm tones. A warm beige on a south-facing wall at 2 p.m. in July can look almost orange. Warm yellows can read neon in direct afternoon sun.
East-facing rooms get morning light that’s warmer and golden, then shift to indirect light by afternoon. These rooms are the most balanced for color selection.
The Texas Light Effect on Specific Colors
- Whites: DFW’s intense light makes cool whites look crisp and clinical. Warm whites (with yellow, cream, or greige undertones) tend to look more natural and livable in Texas light.
- Grays: Be careful. Many grays have strong purple or lavender undertones that appear neutral in the northern U.S. but read distinctly purple in DFW light, especially in north-facing rooms. Test before committing.
- Blues: Blues deepen in DFW light. What looks like a light powder blue on a chip may read as a medium slate on your walls. Test with a large sample.
- Greens: Tend to shift toward teal or blue-green in bright Texas light. If you want a true sage or muted olive, go warmer than you think you need to.
- Warm neutrals (beige, greige, tan): Generally very reliable in DFW homes. They work with the warm light and don’t shift dramatically across conditions.
The Right Way to Test Colors
Do not make a final color decision based on a 2x2 inch paint chip. Buy sample pots and paint a 12x12 inch or larger swatch directly on the wall — ideally on two walls in the room (one that gets direct sun, one that doesn’t). Observe the color at different times of day: morning, midday, late afternoon, and under artificial lighting at night. The color you see at noon is not the color you’ll live with at 8 p.m. with overhead lights on.
This takes one extra day and costs $10–$15 per color. It eliminates expensive repaints.
DIY vs. Hiring a Professional Painter
Here’s my honest take as someone who does interior painting professionally:
DIY makes sense if:
- You’re painting one or two rooms with simple rectangular geometry
- You have time — a proper two-room paint job including prep takes a weekend, not an afternoon
- You’re comfortable on a ladder and can cut edges consistently with a brush
- The surfaces are in good condition and don’t need significant prep work
Hiring a professional makes sense if:
- You’re painting multiple rooms, an open floor plan, or the entire interior of a home
- The home has high ceilings, two-story foyers, or difficult-to-reach areas
- The surfaces need significant repair work before painting
- You want a clean, consistent result you won’t have to redo in two years
- Your time is worth more than the labor cost differential
The math works out roughly like this: a professional interior painter charges $2–$4 per square foot of paintable surface for walls, including prep and two finish coats. A 2,000 sq ft home with 8-foot ceilings has approximately 3,000–3,500 sq ft of wall surface. That’s a $6,000–$14,000 professional job depending on complexity, condition, and finishes.
DIY material costs for the same job run $1,500–$3,000 for quality paint and supplies. The question is whether you’re going to invest 60–100 hours of your own time to save that difference — and whether the result will match what a professional delivers.
Timeline: What a Professional Interior Paint Job Actually Takes
One of the most common questions I get is how long this will take. Here’s a realistic breakdown for a full interior repaint of a 2,000 sq ft home:
Day 1–2: Prep work
- Move and cover furniture
- Clean all surfaces
- Fill holes and repair damaged drywall
- Caulk trim and seams
- Tape and mask where needed
- Prime new drywall, patches, and stain areas
Day 3–4: First finish coats
- Ceilings first (always)
- Walls
- Allow proper dry time between coats — do not rush this
Day 5: Second finish coats, trim, doors
- Touch-up pass on walls
- Semi-gloss trim, door casings, and baseboards
- Doors (if included)
Day 6: Final detail and cleanup
- Touch-ups
- Remove tape and masking
- Replace outlet covers, switch plates, and fixtures
Total: 5–7 working days for a full home. A single room can be done properly in one full day. Anyone promising to paint your entire home’s interior in a single day is either skipping prep or skipping coats.
Common Mistakes to Avoid
- Skipping primer on patches. Patched areas will flash through your finish coat. Always spot-prime.
- Painting over dirty or greasy surfaces. Paint will peel within months.
- Using cheap paint. A gallon of premium paint covers better, requires fewer coats, and lasts years longer than a bargain product. The labor cost is the same either way — use quality paint.
- Not cutting in before rolling. Always brush the edges first (“cut in”), then roll the field. Rolling first and trying to cut in after leads to visible lap marks.
- Rolling too fast. Speed creates spatter and uneven application. Slow, consistent roller strokes give a better finish.
- Skipping the second coat. One coat of wall paint is almost never sufficient. Two coats are the standard for a reason.
Golden Construction DFW’s Interior Painting Service
At Golden Construction DFW, we approach interior painting the same way we approach roofing and siding — prep first, quality materials, and a result that holds up for years. Samuel Diaz manages every job personally, which means you’re not dealing with subcontractors who’ve never seen the project before.
We handle everything from single-room repaints to full-home interior overhauls, including drywall repair, primer, and two finish coats on all surfaces. We use Sherwin-Williams and Benjamin Moore paints exclusively — no off-brand products on our jobs.
Call us at (945) 332-3044 to get a free interior painting estimate for your DFW home. We serve Duncanville, Cedar Hill, DeSoto, Midlothian, Mansfield, Grand Prairie, and the surrounding communities. You can also request an estimate online.